Quick Start: DJI M300 / M350 RTK
Hardware requirements
- DJI M300/M350 RTK drone
- SkyHub V3 (with mounting kit)
- Altimeter (laser or radar)
- Obstacle sensor (optional)
Software requirements for the Windows PC
- UgCS v5.13.0 or higher (referred to below as UgCS)
- UgCS Custom Payload Monitor v4.3.0 or higher (referred to below as UgCS-CPM)
Software requirements for the Remote Controller
For DJI M300 users:
- UgCS Companion for M300 V1.6.3 or later (to establish drone link connection with the CPM)
For DJI M350 users:
- UgCS Companion for M350, M30, M3E V1.6.3 or later (to establish drone link connection with the CPM)
- DJI Pilot 2 (to disable built-in obstacle avoidance sensors and RTK configuration)
Network requirements
Any Wi-Fi/hotspot to connect the Remote Controller and the Windows PC within a single network.
UgCS desktop download and setup process
- Download the installation package.
- Run the setup file.
- Read and acknowledge the license agreement.
- In the component selection tab, you can select additional autopilot support (if necessary).
- Installation complete.
UgCS Custom Payload Monitor download and setup process
- Download the latest available CPM version.
- Run the setup file.
- Select the SkyHub license file for the SkyHub you will be using.
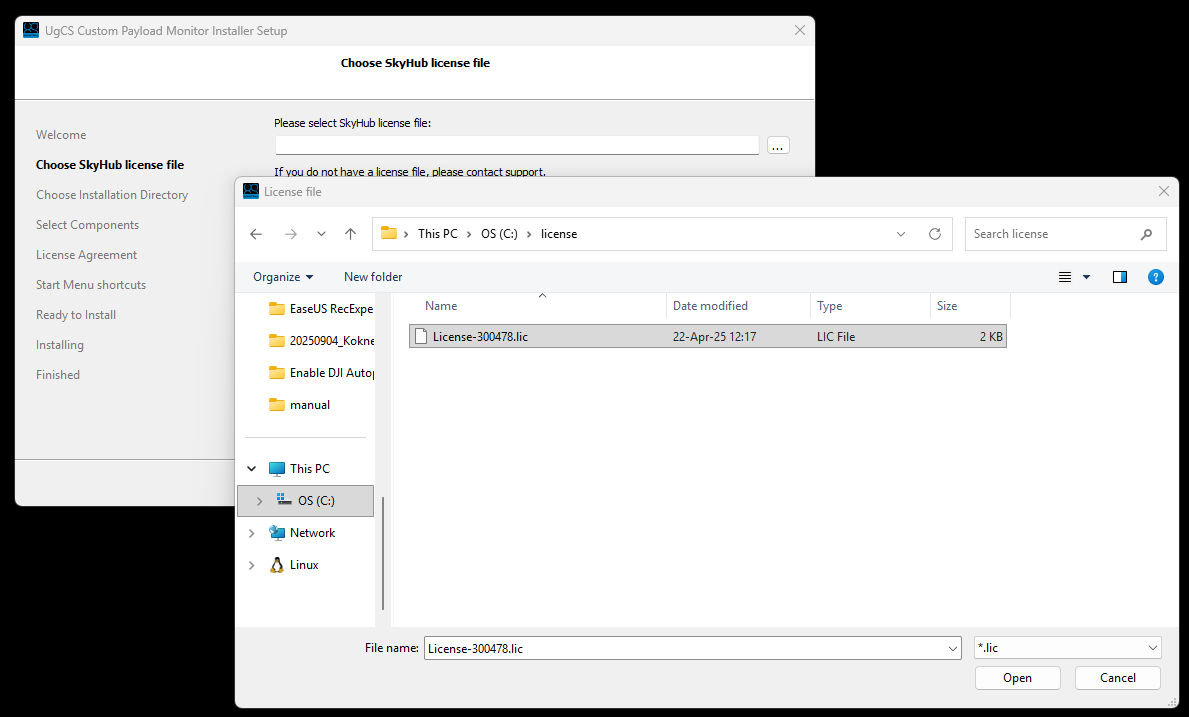
- Read and acknowledge the license agreement.
- Installation complete.
Note
If you do not have a license file or need a new one, please reach out to us at support@ugcs.com and provide your SkyHub serial number.
SkyHub installation on the drone
Caution
Power off the system when connecting cables. To avoid short-circuiting or causing potentially harmful power fluctuations, it is recommended to power off the entire system before performing any cable plug-in or unplugging. Some of the payload sensors used are extremely sensitive to power changes and may be damaged.
Components
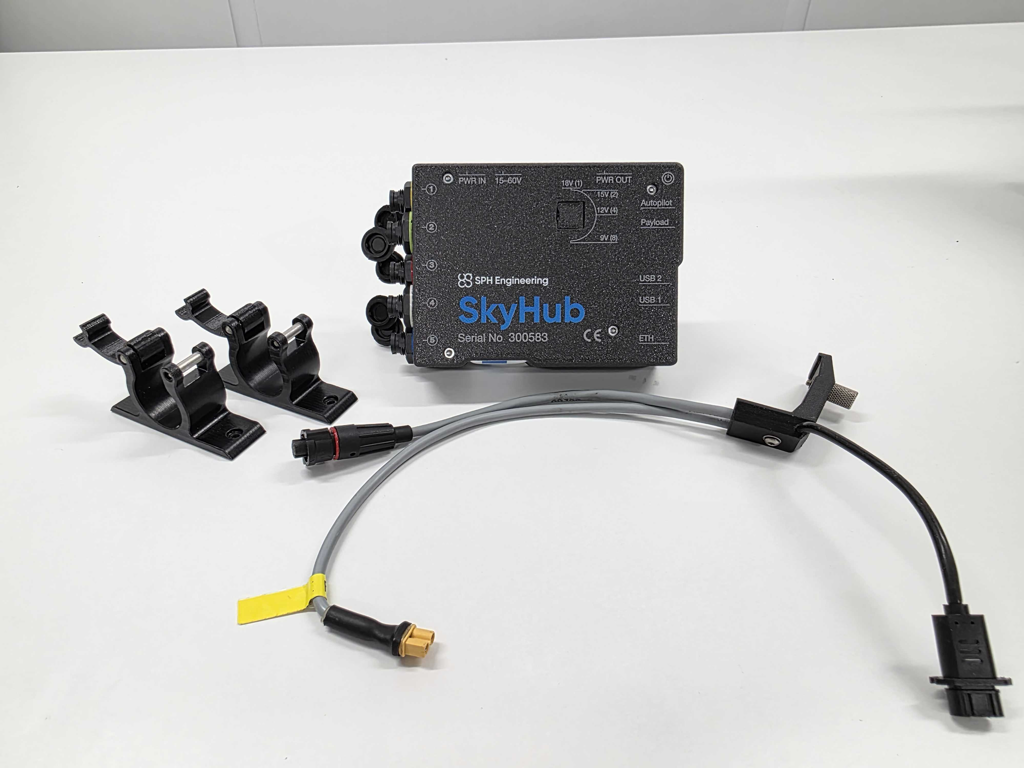
SkyHub assembly kit contains the following components:
- SkyHub onboard computer
- 2x case mounts
- DJI M300/M350 connection cable
Physical assembly
- Attach both mounting kits to the back side of the SkyHub
- Plug in the drone link cable (Red) to the third connector (Red) on the SkyHub
- Plug the power cable into either the first or second power port on SkyHub
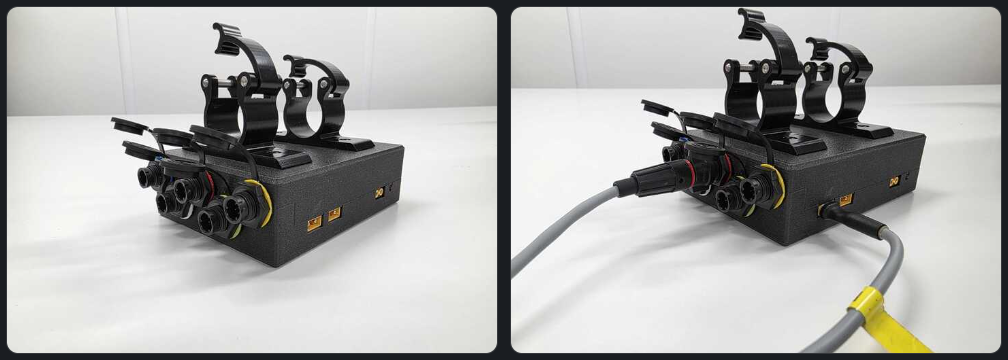
- Plug in a USB cable to the OSDK USB port on the drone (note that the USB can only be plugged in one direction; use the railing on the connector as guidance)
- Attach the anchor cable to the case of the drone beneath the OSDK port.
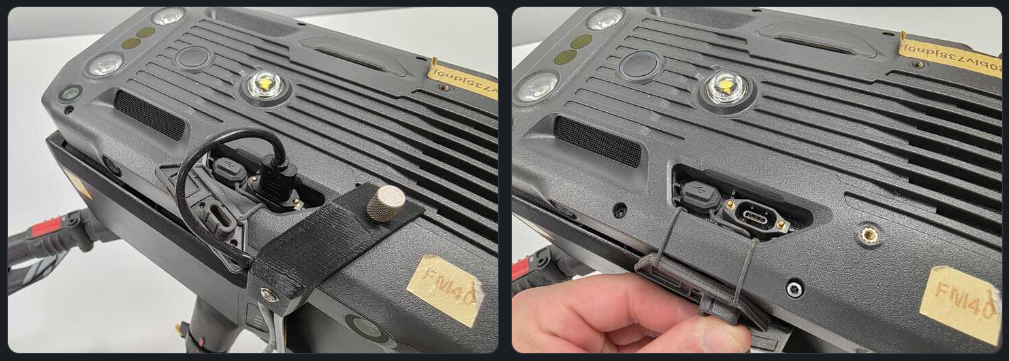
- Physical assembly of the SkyHub is complete. Check that all the connectors are secured tightly, with no loose movements.
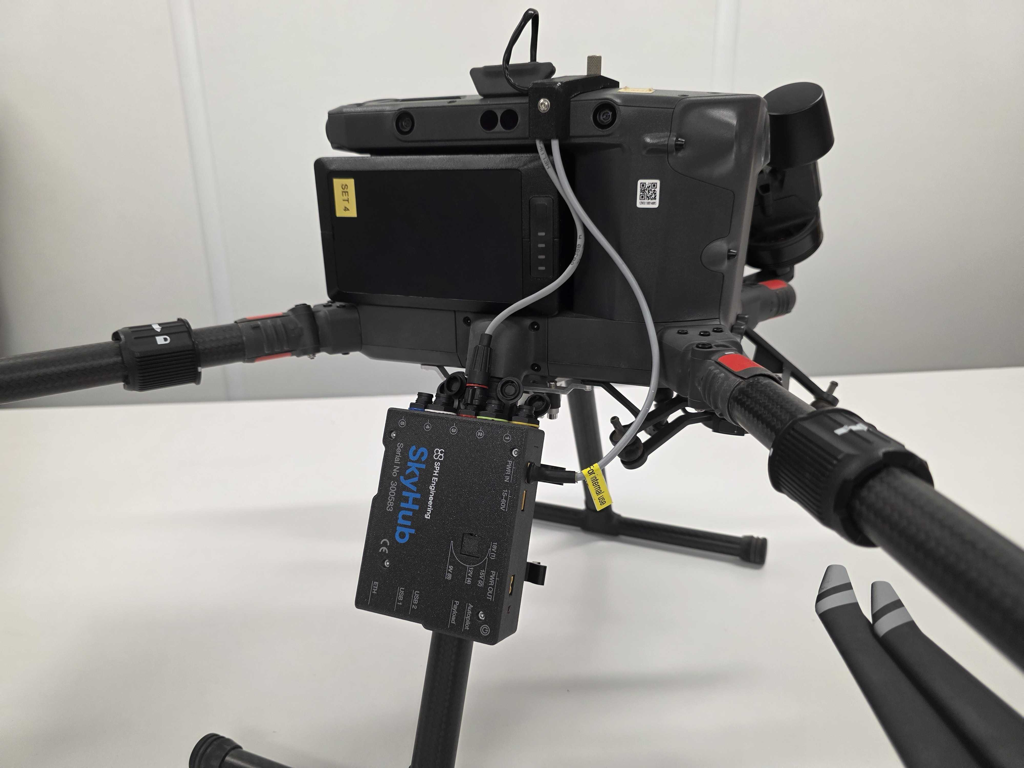
Altimeter installation on the drone and connection to the SkyHub
To install the altimeter sensor on the DJI M300/M350, use the mountings provided with the sensor.
Tip
For your convenience, we have a library with 3D models you can download and print yourself in case the default ones are broken or missing: 3D Part Library
- Attach the mountings to the sensor. Note that mounts fit only one way and should slide in easily without too much force being applied. When the mounts are fitted, tighten them with the screws.
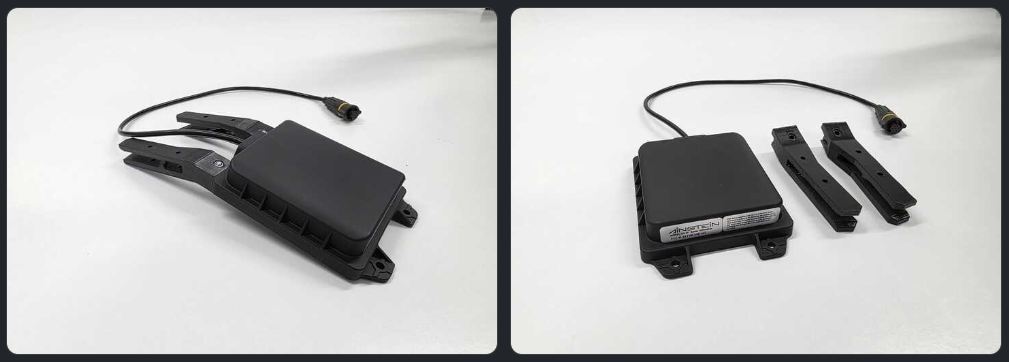
- Install the sensor on the gimbal of your drone. The mounts should slide in deep enough to be tightly secured on the gimbal, without loose movement.
- Connect the cable to Connector 1 (yellow) on the SkyHub
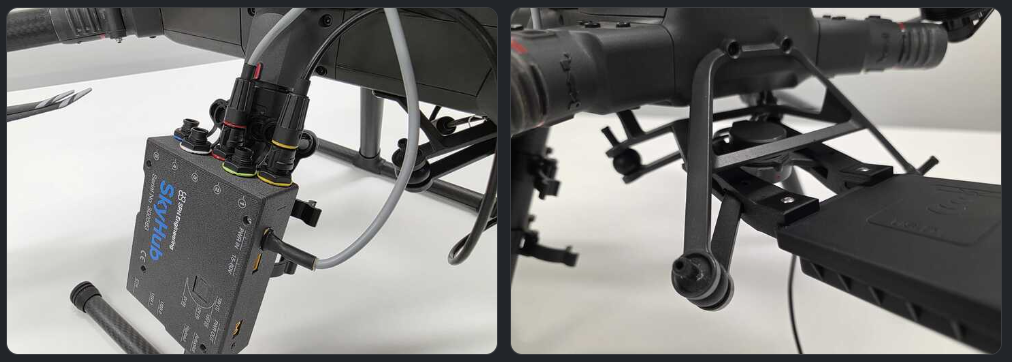
- Setup is complete. You can now proceed with the widget configuration.
Altimeter / Autopilot configuration within the CPM software
Before proceeding further, power on both the drone and the remote controller. Then, make sure that your computer and the controller are connected to the same network. This is required to establish the drone link connection between CPM on your computer and SkyHub on the drone.
Note
SkyHub will take a little more time to fully boot up. You can check whether it is ready by the indicator within CPM. As soon as the SkyHub indicator becomes green, you can proceed with the configuration.
Enabling the autopilot
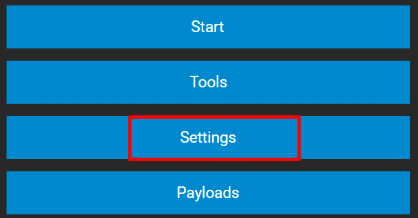
- Press the Settings button
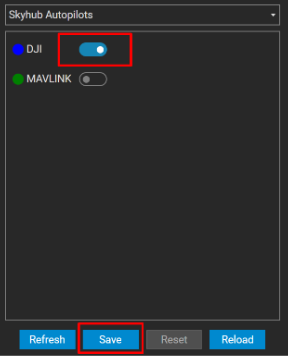
- From the drop-down list, select the SkyHub Autopilots section
- Enable DJI (note that only one autopilot can be enabled at a time; MAVLINK should stay disabled). Press Save and perform a system restart
- Autopilot configuration is complete. After the system restart, you will notice that the drone link icon should become green.

Enabling the altimeter
When both drone link and SkyHub connections are established, you can proceed with the altimeter widget configuration.
- Click on the Payloads section
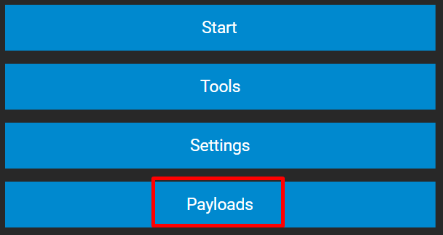
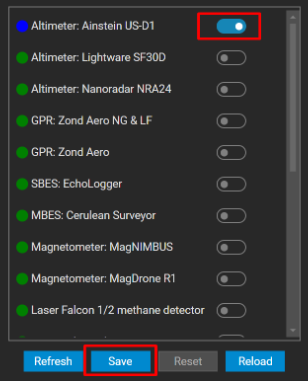
- From the payload list, search for your altimeter model (in our example, it is US-D1), enable it, and press the Save button. Perform a system restart.
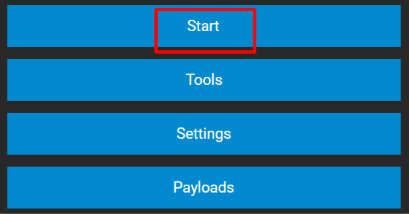
- After the restart is complete, press the Start button.
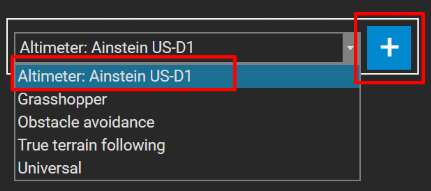
- From the drop-down list, select the altimeter model you enabled previously and press the “plus” icon
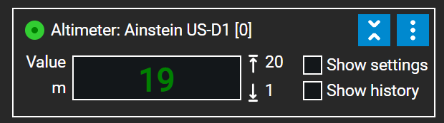
- Widget configuration is complete. If everything was set up correctly, you should see the initial readings from the sensor.