Setup Interface to DJI Autopilot M300 / M350
Note
Before the autopilot configuration, Auxiliary or drone link connection must be established between the remote controller and UgCS-CPM software on your computer.
Enabling the autopilot
- Press the Settings button.
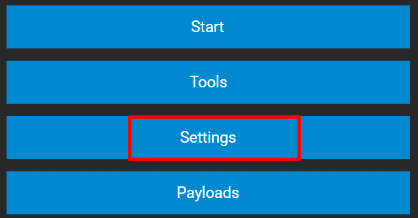
- From the drop-down list, select the SkyHub Autopilots section.
- Enable DJI (note that only one autopilot can be enabled at a time; MAVLINK should stay disabled). Press Save and perform a system restart.
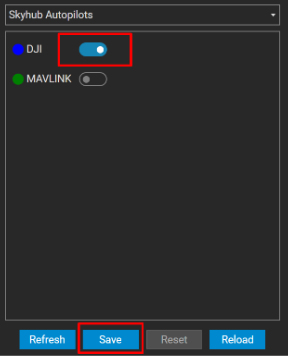
- Autopilot configuration is complete. After the system restart, you will notice that the drone link icon should become green.

DJI Obstacle Sensors Disabling
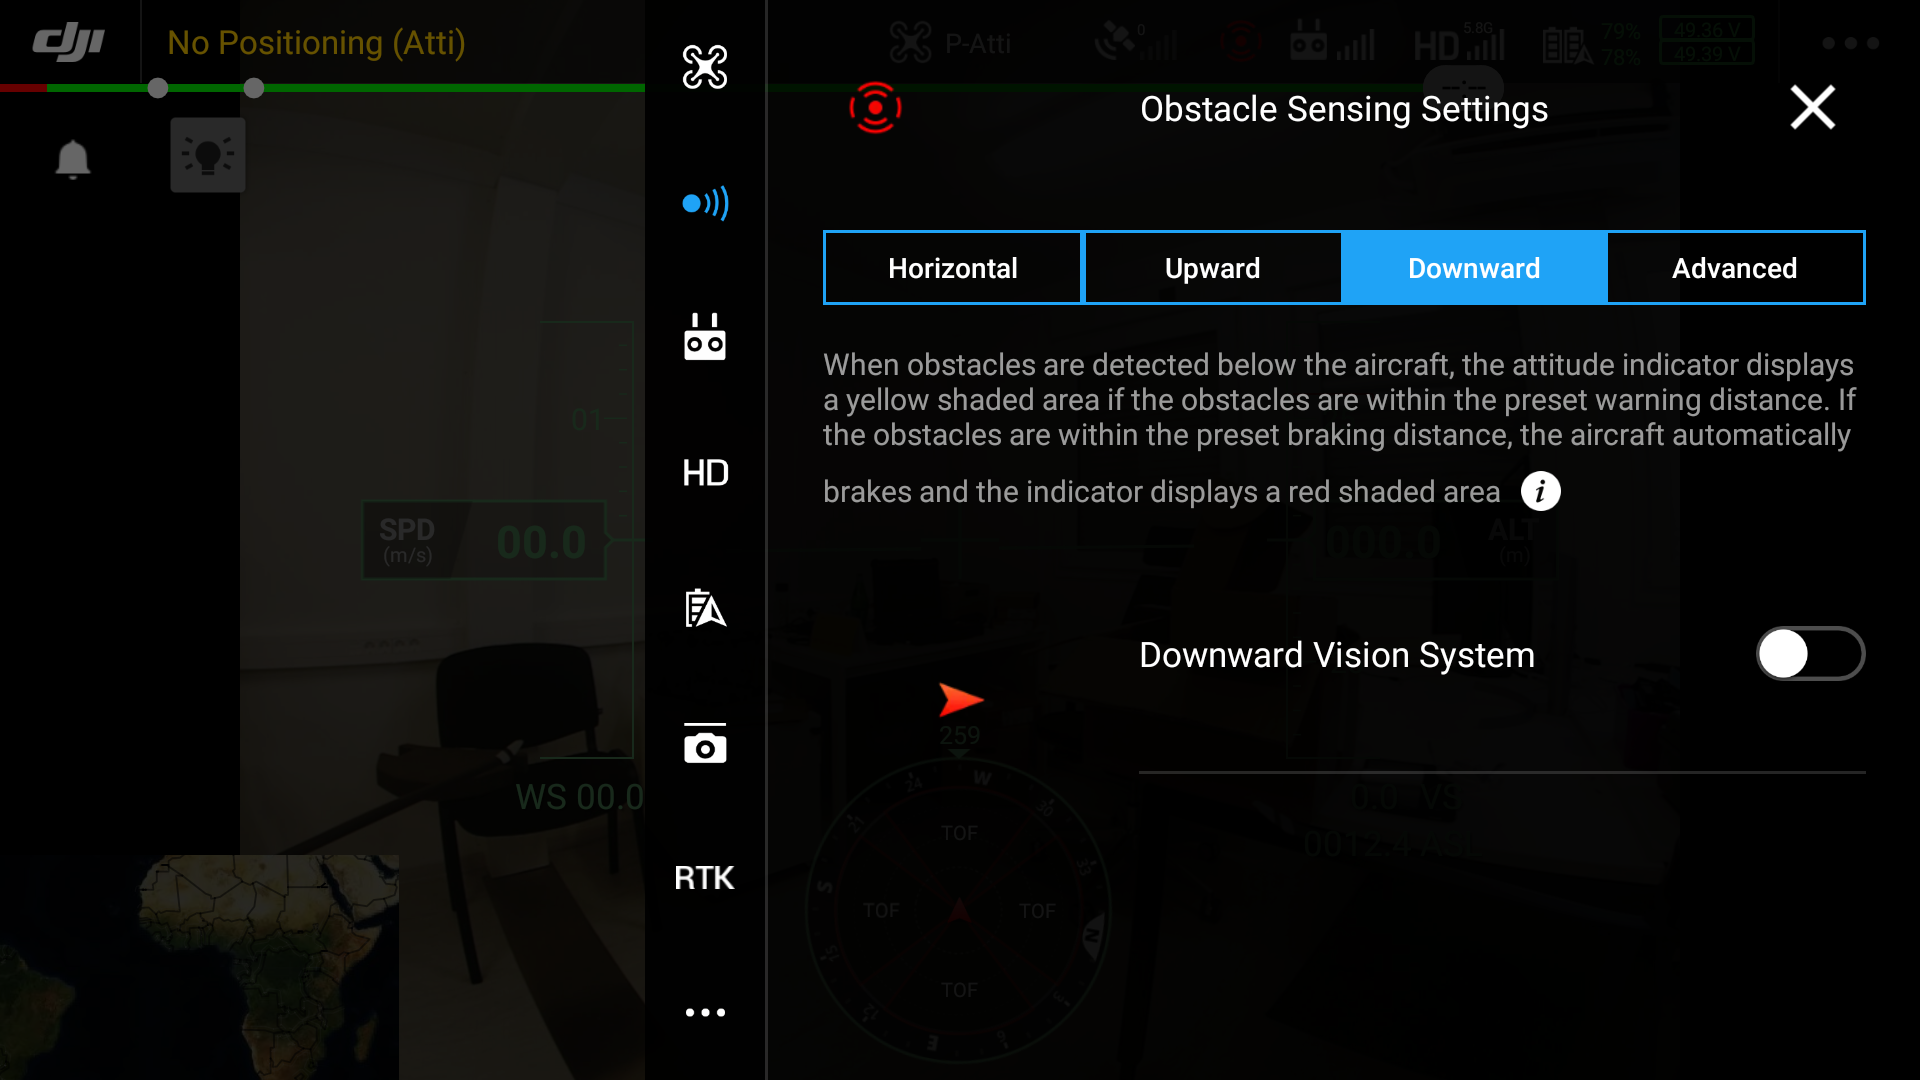
Depending on the payload used, downward obstacle sensors may need to be disabled on the DJI M300 / M350. Use DJI Pilot to disable them according to the screenshots below.
UgCS Companion on the DJI remote controller
Note
To establish the drone link connection between the UgCS-CPM on your computer and SkyHub on the drone, both Companion (on your remote controller) and UgCS software (on your computer) must be open
The Companion application is available for download here: SkyHub download page.
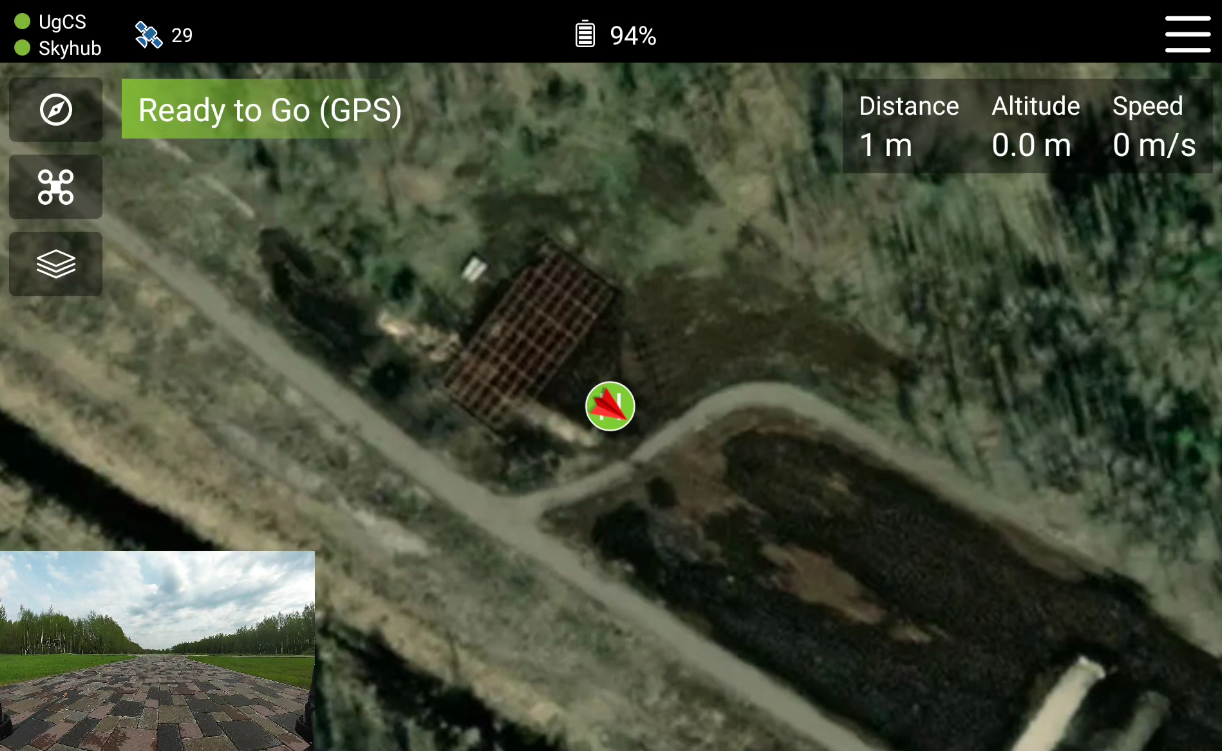
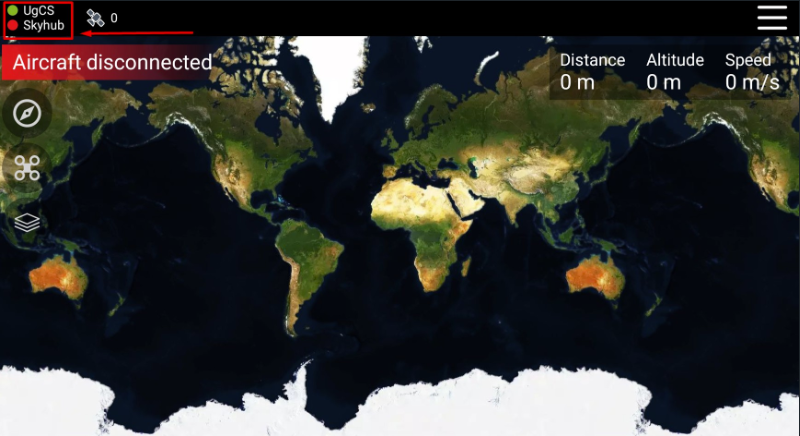
The UgCS Companion application establishes a connection with SkyHub automatically if the DJI driver is enabled. The SkyHub indicator in the upper left corner of the application turns green if the connection is established.
If there is more than one computer with UgCS used in the network, tap on the UgCS indicator in the upper left corner of the UgCS Companion application to access the list of available UgCS instances and select the necessary one.
Caution
Attention: If the UgCS Companion application was started before SkyHub is fully powered on, the application will not detect SkyHub. An application restart will be necessary to establish the connection.