1. Preparation#
1.1. Prerequisites#
Required desktop software:
UgCS Custom Payload Monitor v4.3.0 or higher (referred to below as UgCS-CPM).
UgCS v5.13.0 or higher (referred to below as UgCS).
Required mobile software for DJI drones and remote controller:
DJI Pilot 2 (referred to below as DJI Pilot)
Optional:
RJ45 Ethernet cable if the wired Auxiliary connection will be necessary.
1.1.1. Establish Auxiliary connection to SkyHub using Wi-Fi#
Important: It is strongly recommended to switch on a remote controller before any operations with the SkyHub Wi-Fi.
After powering on, the SkyHub operates as a Wi-Fi access point with the following credentials:
SSID:
UgCS-SkyHub-******(where******is the SkyHub serial number)Passphrase:
12341234
Note
When connecting to SkyHub Wi-Fi for the first time, Windows will require authentication with a PIN. It is necessary to choose network security key authentication instead. Please switch to security key mode before entering the passphrase.
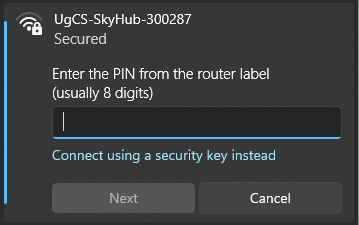
Windows Wi-Fi connection dialog. PIN mode#
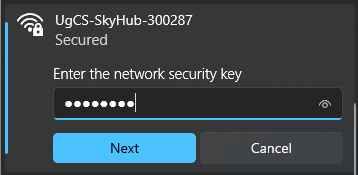
Windows Wi-Fi connection dialog. Security key mode.#
When connection to the SkyHub hotspot is established:
Open the UgCS-CPM software.
Press “Settings”.
Verify that the address is set to 10.1.0.1.
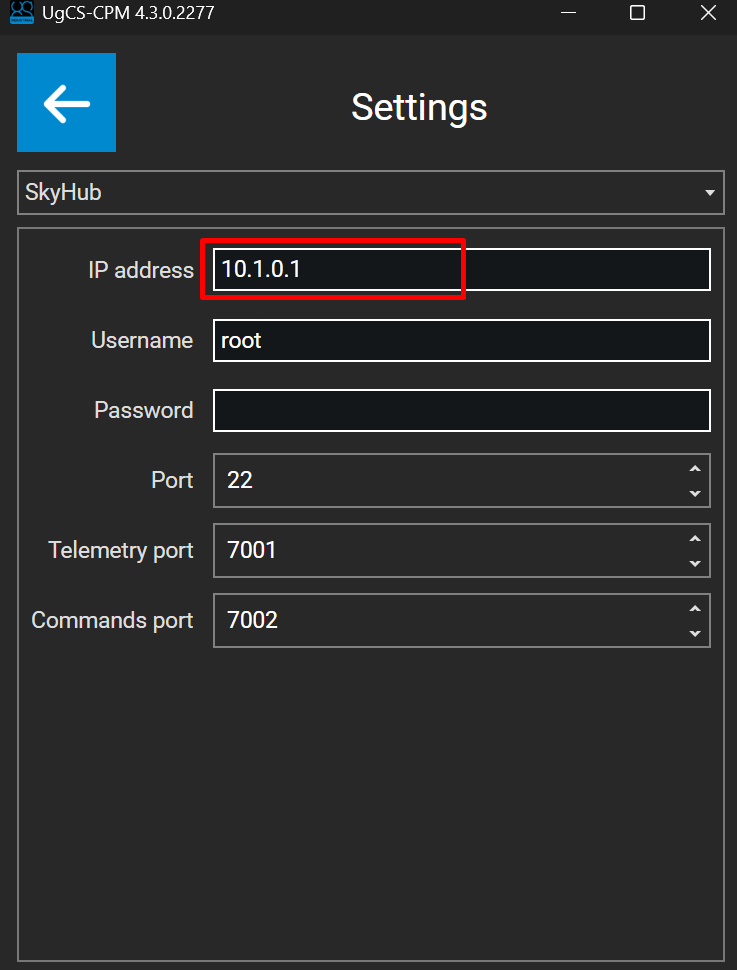
Wi-Fi address within UgCS-CPM#
Press the “back arrow” and refresh the connection list.
The Auxiliary connection is established.
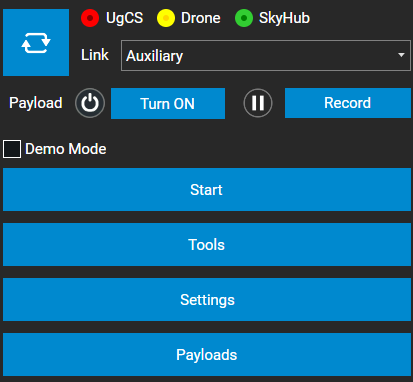
Auxiliary link in UgCS-CPM#
1.1.2. Establish Auxiliary connection to SkyHub using Ethernet cable#
Connect one end of the Ethernet cable to the RJ45 port on your computer.
Connect the other end of the Ethernet cable to the SkyHub Ethernet port.
Note
SkyHub runs DHCP service onboard, therefore, the PC’s IP address will be assigned automatically after connection.
Open the UgCS-CPM software.
Press “Settings”.
Verify that the address is set to 10.2.0.1
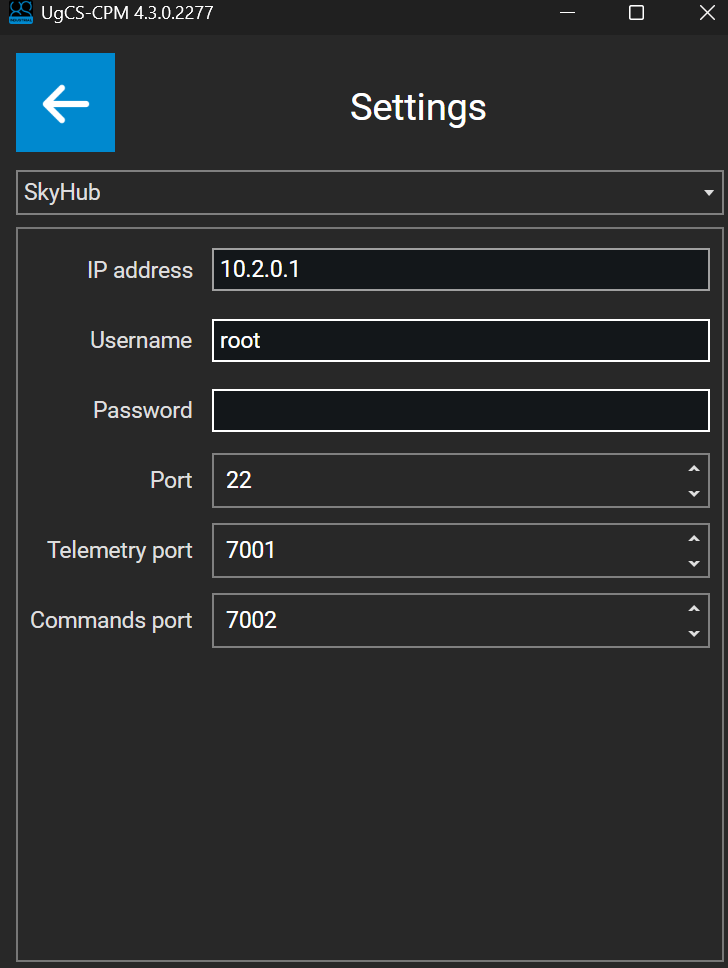
Ethernet address within UgCS-CPM#
Press the “back arrow” and refresh the connection list.
The Auxiliary connection is established.
Warning
If your network adapter has manual TCP/IP settings applied, make sure to switch both IP and DNS to “Automatic”.
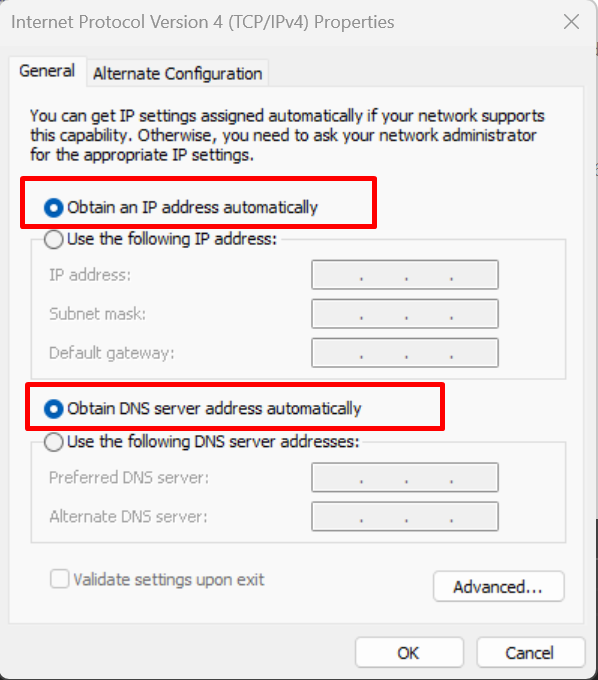
Network adapter settings on computer#